Multinode Effects Parameters (Studio only)
-
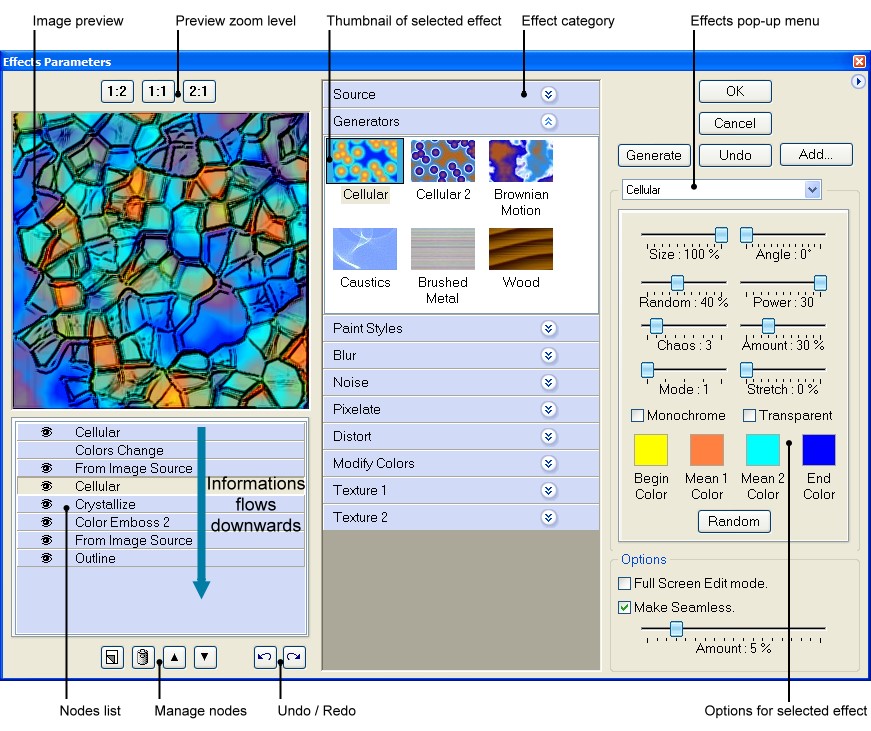
The Effects Parameters lets you apply effects or textures to your
image. You can view thumbnail examples of what each effect does. You
can also change the settings of each effect you have applied to
achieve the effect you want. The Effects Parameters possesses a
nodes list which allows you to create effects or textures in several
stages applied cumulatively. Because it is so flexible, the Effects
Parameters dialog box is often the best choice for applying effects
or textures.
-
-
To apply effects or textures from the Effects Parameters dialog box
-
1. You can select a existing node into the nodes list. Or clear the
nodes list and click the new node button to add a node into the
nodes list.
-
2. Click an effect name to add or modify the effects. You may need
to click the inverted triangle next to the effect category (pop-up
menu) to see the complete list of effects.
-
3. Enter values or select options for the effect you selected. Also,
you can try another effect if necessary.
-
4. You can click the new node button to add a another node into the
nodes list, if necessary. Now, repeat the step 1, 2 and 3 to adjust
the parameters of this new node.
-
5. When you are satisfied with the results, click the Generate
button. You can also click the Add button to save this setting and
add to the ToolPalette for future use.
-
-
-
Generate / Abort
-
Apply the effect or the texture to the image.
-
Modify the parameters and repeat generate if necessary.
-
When the filter is running, you can click the Abort button to
suspend the filter process.
-
You can also press the F4 key to interrupt this filter process.
-
-
Add…
-
Show Add to ToolPalette dialog box.
-
Save and add this effect or this texture, and your custom settings,
to the ToolPalette for future use.
-
Send…
-
Show the Submit Wizard. Allows you
to submit a new filter or an update to a previously submitted filter
to the Filter Library.
-
The Wizard is accessible by clicking Send to Library from the
Effects Parameters dialog box..
-
Also, save and add this effect or this texture, and your custom
settings, to the ToolPalette for future
use.
-
Manage nodes list
- Hide/Show
node

-
The node is hidden or shown.
-
-
Create new node

-
You can add a new node into the list of nodes.
-
-
Delete selected node

-
The selected nodes are deleted.
-
-
Change node order

-
To move a selected node up or down within the list of nodes.
-
-
Undo / Redo

-
You can undo your last action or reapply your last undo.
-
Imagelys Picture Styles supports multiple Undo/Redo steps.
-
-
-
-
Nodes list popup menu
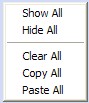
-
You can right click on the nodes list to open a popup menu and
choose a function.
 Show all nodes.
-
Hide all nodes.
-
Clear all nodes (the nodes are deleted).
-
Copy all nodes to the clipboard.
-
Cut the selected nodes to the clipboard.
-
Copy the selected nodes to the clipboard.
-
Paste the nodes from the clipboard.
- You can use the Ctrl key and the Shift
key for to select several nodes.
-
-
Preview zoom level
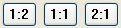
- This four buttons allow you to change the zoom
level of the image preview (25%, 50 %, 100 % or 200 %).
-
Make Seamless
- Prepares an image for use as a tiled texture.
You can blend the edges of an image to create a seamless texture.
-
You can shift the image by setting a value of the amount. The bitmap
inside the selected layer or image background is shifted
horizontally and vertically and the edges are blended.
-
-
You can press the F11 key to show the image in Full Screen Edit
mode.
-
-