Apply
colored pencil effects to your images files from
PhotoFiltre Studio X
|
Previous
Top
Next
|
You can apply colored pencil effects to your images files from
PhotoFiltre Studio X very easily.
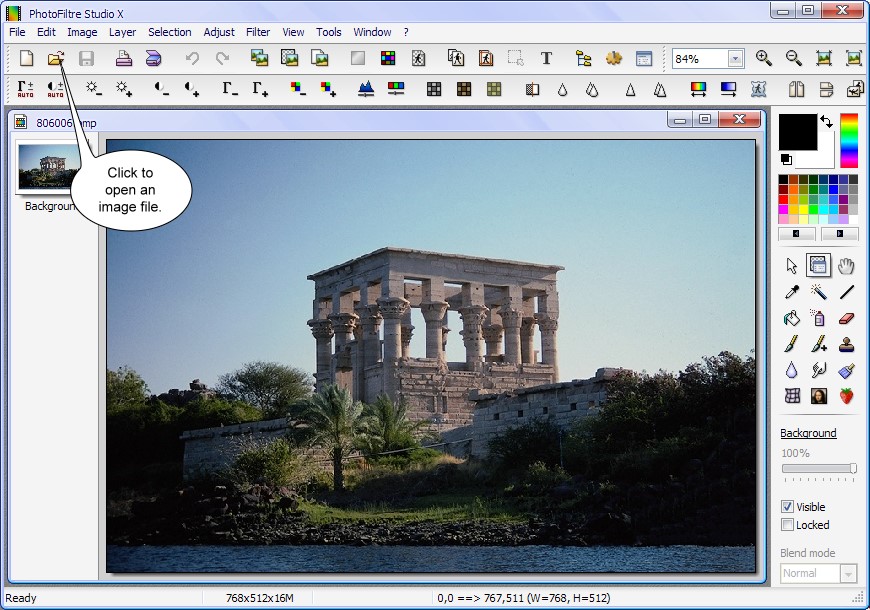
 Step 1 Step 1
In the main toolbar of PhotoFiltre Studio X, click to open
and choose an image file.
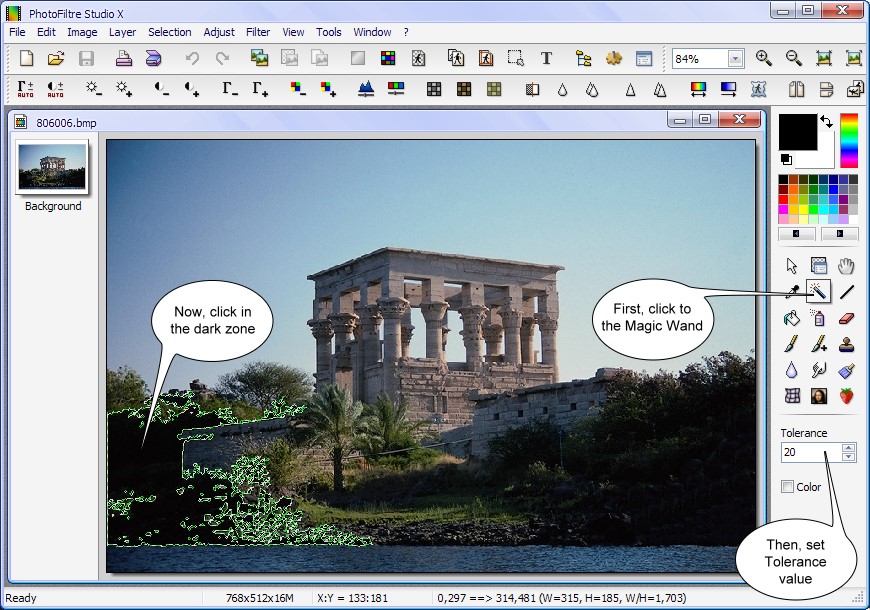
Step 2
In the toolbar, click to Magic Wand and set the tolerance value.
Now, click in the dark zone.
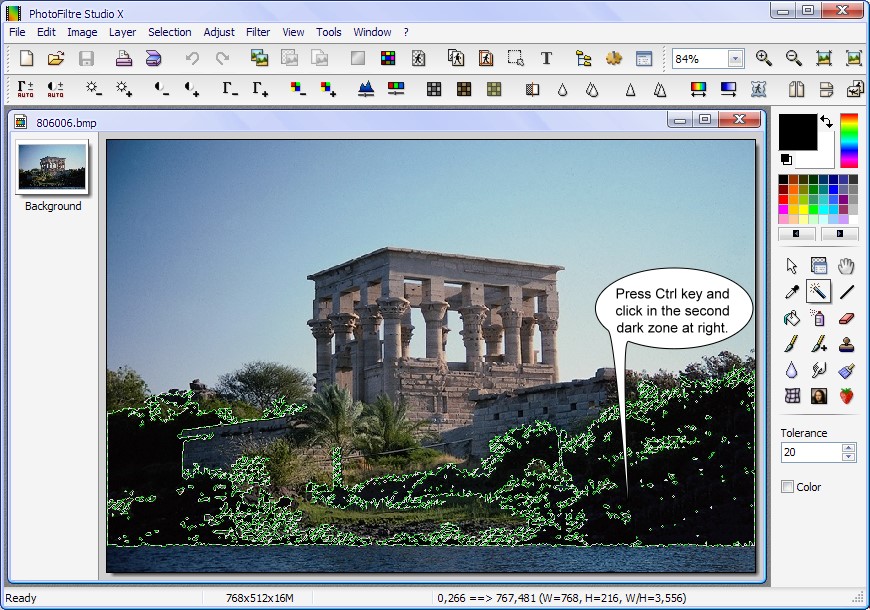
Step 3
Now, press the Ctrl key and click in the second dark zone at
right.
Step 4
Then, in the main toolbar, click to Copy and next click to
Paste for create a new layer.
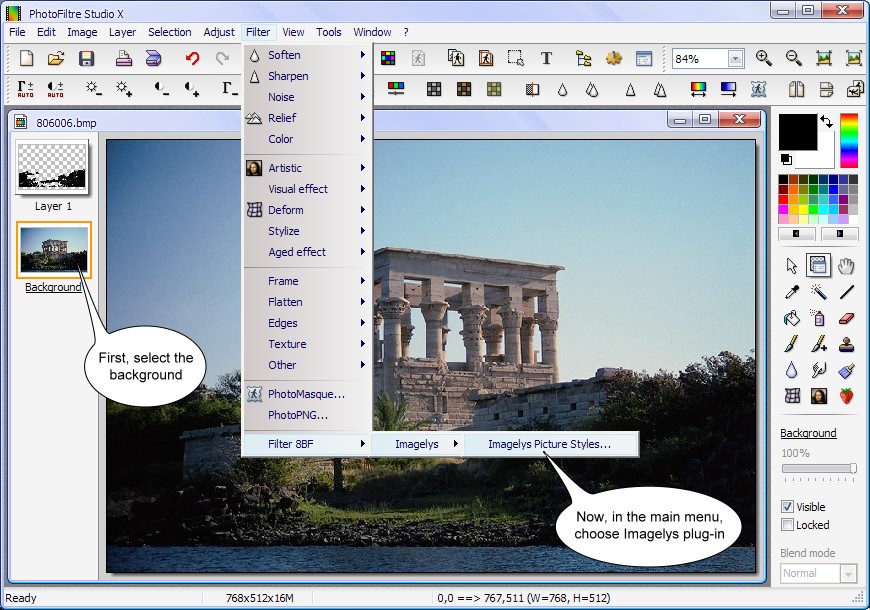
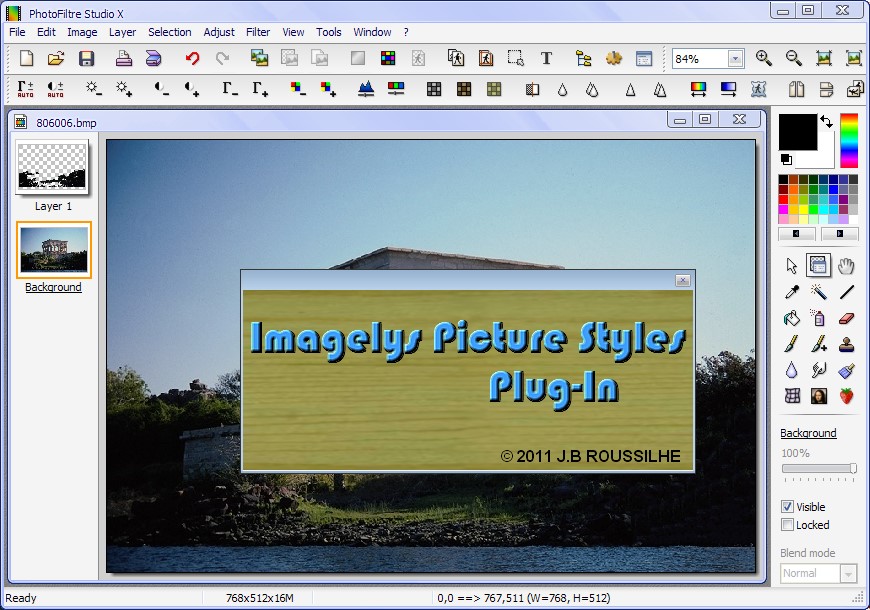
Step 5
First, select the background. Then, in the main menu, choose
the Imagelys plug-in.
Step 6
Now, the Imagelys plug-in is active. Do not close this dialog
box till the end of process.
Wait the launching of Imagelys Picture Styles software.
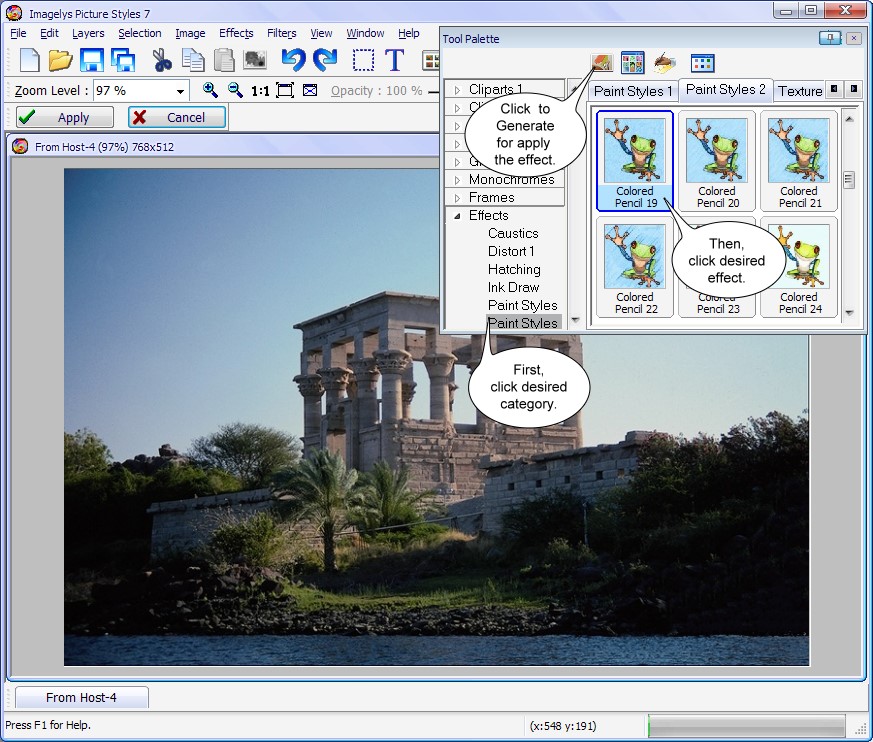
Step 7
When Imagelys Picture Styles is running, choose an effect into
the ToolPalette and click the generate button.
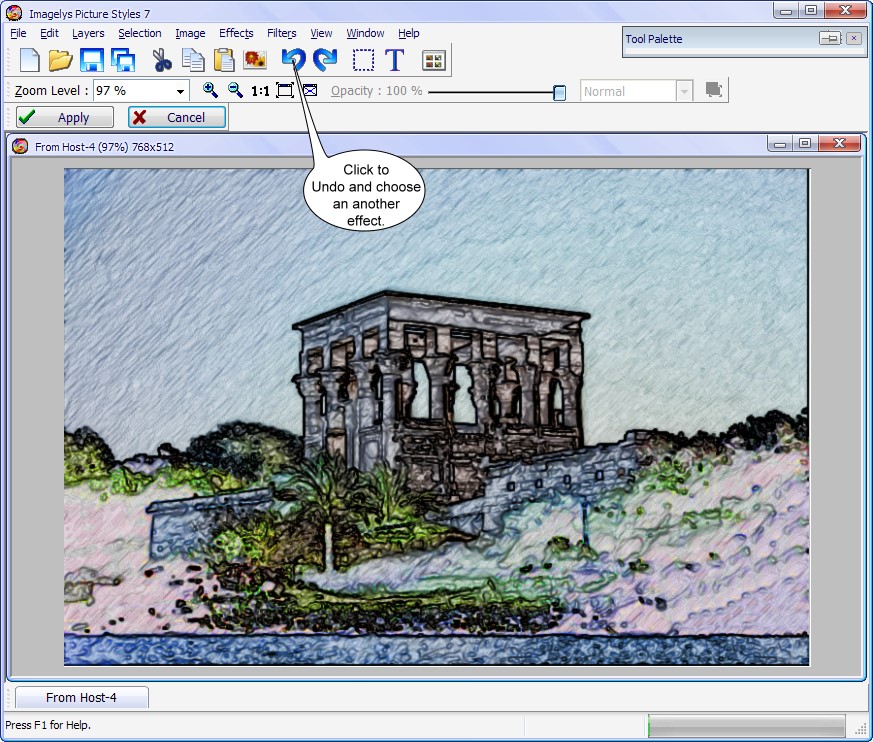
Step 8
If you are not satisfied by the result, click to Undo in the
main toolbar and choose an another effect.
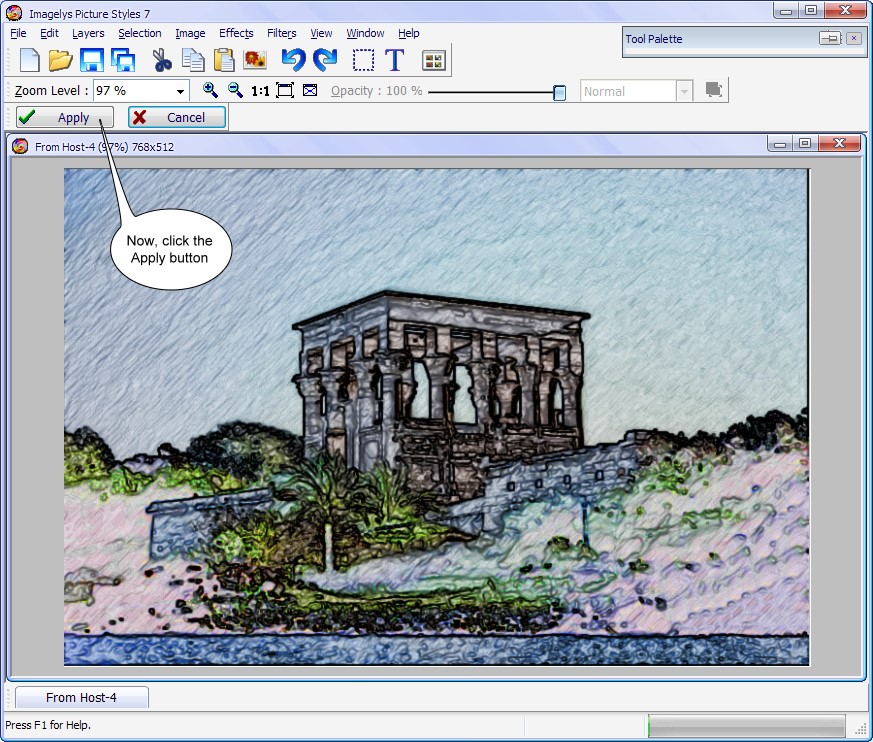
Step 9
Now, you can click the Apply button for validate your work
and return to PhotoFiltre Studio X.
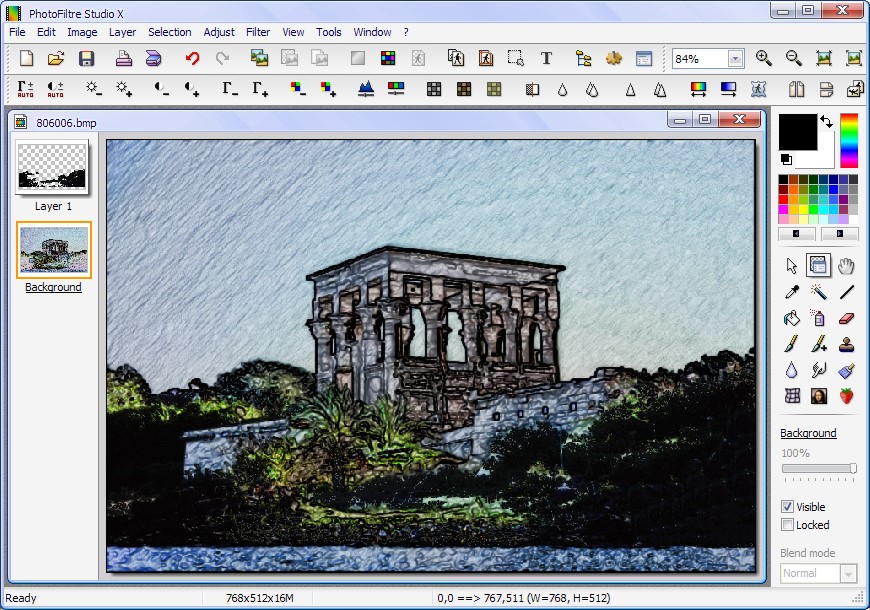
Step 10
The result is showed into PhotoFiltre Studio X.
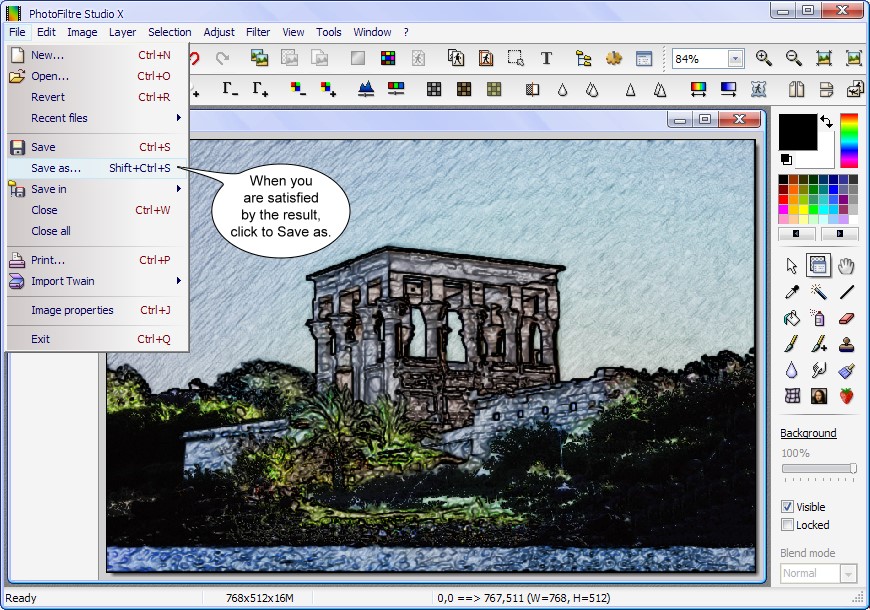
Step 11
Now, click to Save as in the main menu and enter a filename.

The result of colored pencil effect.
|